
Use your 3 cyanotype projects.
Tools- selection, move , transform and text
Tools- selection, move , transform and text


Atkins’ Photographs of British Algae: Cyanotype Impressions (1843-1853) is generally credited as being the first photobook ever published


https://www.getty.edu/art/collection/artists/1507/anna-atkins-british-1799-1871/


https://www.moma.org/artists/231


Create 3 Cyanotype projects.
Include the before and after images on your website Directions
Photoshop Cyanotype Rubric
| Criteria | Exceeds (3) | Meets (2) | Needs Improvement (1) |
|---|---|---|---|
| Image Conversion | Image is successfully converted to black and white and inverted with no visible issues or artifacts. | Image is converted to black and white and inverted, but minor issues or artifacts are present. | Image conversion is incomplete or has significant issues and artifacts. |
| Cyanotype Layer | The cyanotype layer is added with the correct blue color and opacity, creating a seamless and visually appealing effect. | The cyanotype layer is added, but the color or opacity needs minor adjustments to achieve the desired effect. | The cyanotype layer is missing or has significant issues with the color or opacity, detracting from the overall effect. |
| Creativity and Composition | The final image demonstrates a high level of creativity, with thoughtful composition and a strong visual impact. | The final image shows some creativity and composition, but could be further enhanced. | The final image lacks creativity and compositional elements, resulting in a weak overall effect. |
1. What motivated Sir John Herschel to experiment with photography and ultimately invent the cyanotype process?
2. Describe the chemical process involved in creating a cyanotype image, including the main chemicals used.
3. How did the use of cyanotype evolve from its initial creation to later applications in the 19th century?

%20sepia.jpg)

.jpg)

The best camera settings for shadow photography.
You probably don’t think about them that much when shooting, but shadows can make a scene more dramatic if you know how to use them.
In this article we have a few tricks to show you to help you photograph shadows better.
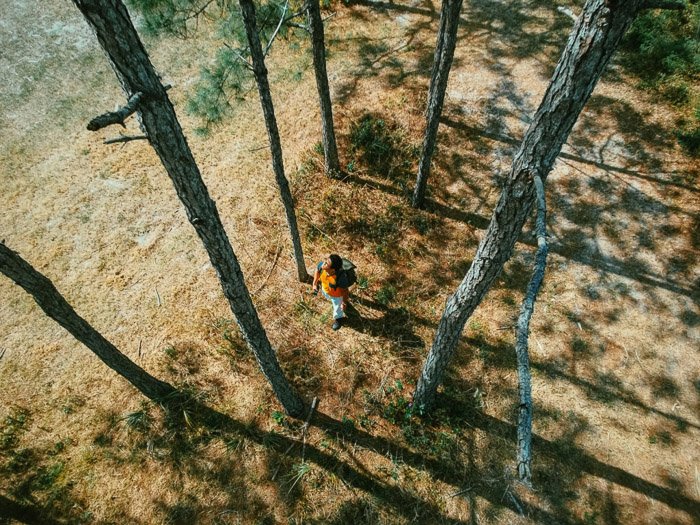
Golden hour simply refers to the short period when the sun is low on the horizon and casts a “golden” glow. However, the term is quite deceiving because it typically occurs about 20 minutes (not an hour) after sunrise or before sunset.
Despite the time constraint, however, don’t hesitate to shoot at sunrise or sunset if you want dramatic shadow photos. Due to the low position of the sun during this time, it creates long shadows that look more prominent in your image.
The golden hour also provides a perfect opportunity to shoot silhouettes. When the sun is directly behind any object you’re photographing, it naturally creates backlighting.
Consequently, the contrast it produces eliminates the details in your subject and causes it to look black.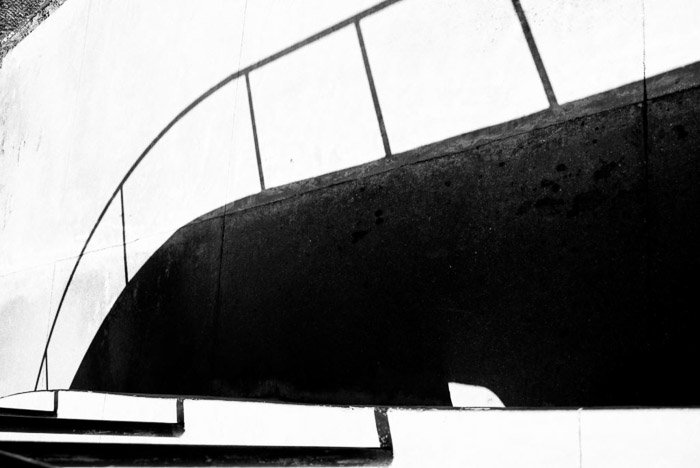
You don’t always have to wait for the golden hour to end up with cool photos. Sometimes, shooting in harsh sunlight can actually create dramatic results for shadow photography.
In typical situations, we wouldn’t really recommend taking photos when the sun is high in the sky. It often creates undesirable results because it’s usually too bright and creates strong contrasts.
But for shadow photography, those two elements are precisely what you want to achieve incredible results.
The harsh sunlight also works well whenever you’re shooting architecture and other geometrical structures. The sharp shadows the sun creates add dimension to these their framework which makes them look quite dramatic.
So walk around your area when the sun is high up in the sky. See how it interacts with the buildings around you. It wouldn’t take long before you see shadows casting all sorts of patterns that look pleasing to the eyes.
Just remember not to take photos at noontime. Since the sun is directly above you, the shadows it creates typically look unappealing.
Aim for taking pictures before or after 12 PM when the sun is at an angle (10 AM or 3 PM are often ideal times).
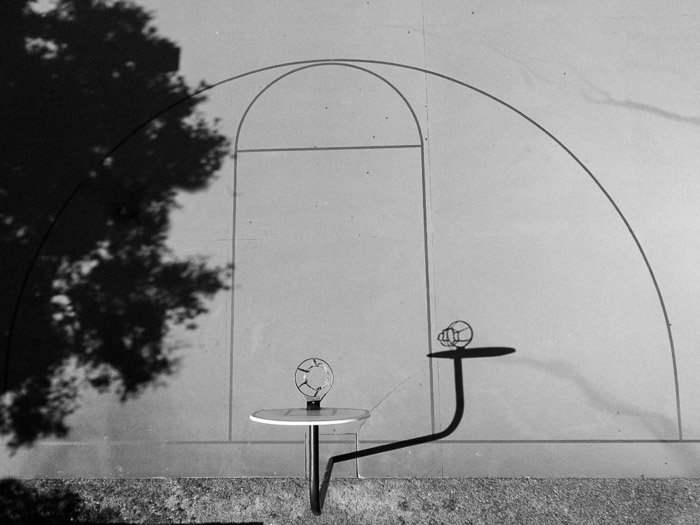
When photographing shadows, be conscious of how they appear in your image. Are they easily recognizable? If they look distracting, you might as well leave them out of your frame.
The secret is to make sure an object doesn’t cast a shadow that looks like an indistinguishable lump. The best shadows often feature beautiful patterns or solid contours.
Look for objects that have distinctive silhouettes, instead. You can try just about anything from bicycles to trees, as long as they’re easy to identify. Humans also make nice shadows, especially when their arms and legs are spread apart.
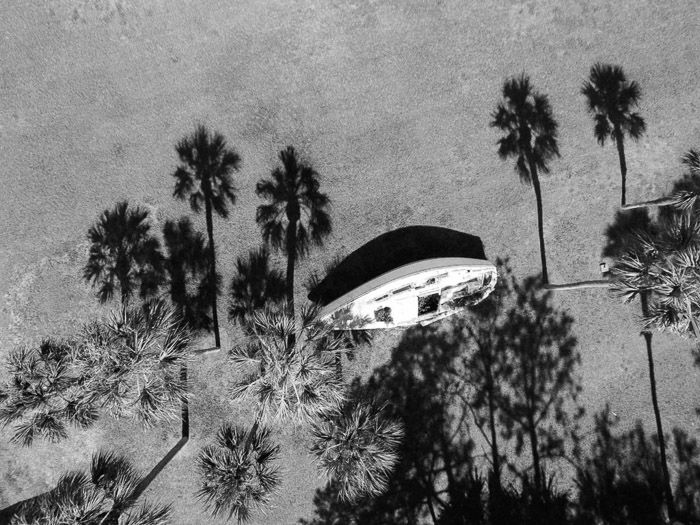
Colour can sometimes be distracting, especially when it comes to shadow photography. To make it effortless for your viewers to see the shadows, then just shoot in black and white.
Why? Because it tends to make the contrast between light and dark more prominent. Shades of white, grey, and black are easier for the eyes to interpret than a broad spectrum of colours.
That’s precisely the reason many of the images featured in this article are in monochrome.
The simplest way to produce monochromatic photos is by switching your camera’s shooting mode to black and white. Just remember that in doing so, you’ll end up with JPEG files that you can only edit so much before digital artifacts appear.
If you want some flexibility, try shooting RAW+JPEG. Having a RAW as a backup gives you more options in case you’re not satisfied with your black and white JPEG.
You can use RAW to edit your file without the risk of introducing artifacts.
Another option is to shoot in colour and convert it into black and white in post-processing. All you have to do is open your file on your favourite editing software and desaturate the image.
Alternatively, you can choose a black and white preset (especially if you’re using Adobe Lightroom) for better results.
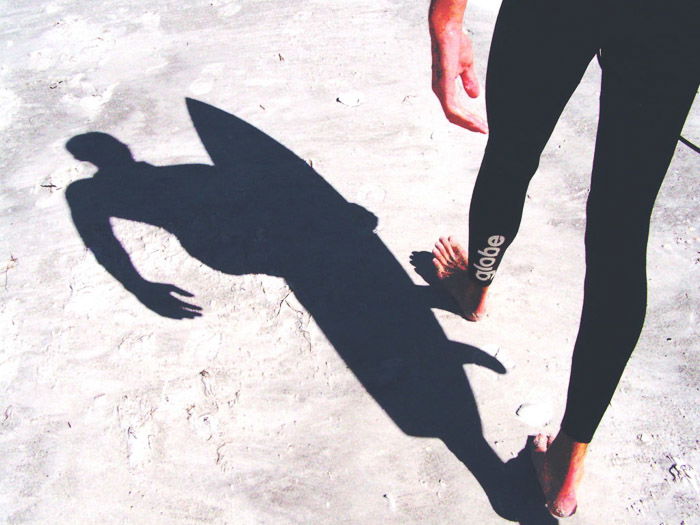
Despite using the right settings, your camera may not always achieve the perfect exposure. So we always recommend that you tweak your photos in post.
First, adjust your contrast to make your shadows look darker and more dramatic. You should also consider increasing your blacks and shadows to make the dark tones look even richer.
Just make sure not to go overboard, or you’ll end up with a blown out photo. Remember that when it comes to editing, moderation is crucial.
Now that you know how helpful shadows can be in influencing the mood of your images, try to incorporate them whenever possible.
Always observe how light and darkness interact each other in your frame. If you keep your eyes peeled, you might just capture something magical.
1. Explain how shadows can create drama in a photograph. Provide an example from the video to support your answer.
2. How can shadows be used to direct the viewer's eye in a photograph? Describe the techniques mentioned in the video.


